Yesterday evening I decided it was time to harvest my patch of storage onions, so I hunkered down and spent about an hour and a half harvesting the onions and another hour and a half carefully laying them out to cure in the greenhouse. The time had long come when I needed to harvest the onions, and with an abundance of rain lately, I was worried about the onions rotting in the field and weeds completely taking over the patch, making it much more difficult to find the onions come harvest time. So with a dry afternoon on hand, I knew it was time to dig in.
This year, I planted two 150-ft beds of onions. Each bed was 4 feet wide and contained 2 or 3 rows of onions. One bed was devoted to “fresh eating” onions, as I like to call them, and the other was set aside for storage onions. The fresh eating onions were onions that I harvested with green tops. They don’t have any of the papery wrappers that you’re used to seeing when you buy a net bag of onions at the store. Instead, they are intended to be eaten fresh, no peeling necessary, and therefore, these onions won’t store long. Generally, they are varieties that are sweeter, containing more sugars, which contributes to their inability to store for a long time, but also makes them delicious raw and helps them to caramelize beautifully. In the fresh eating onion bed, I also included my summer leeks, which take fewer days to reach maturity than fall leek varieties, and are planted closer together so they remain small and slender, never getting bigger than a thumb’s width.
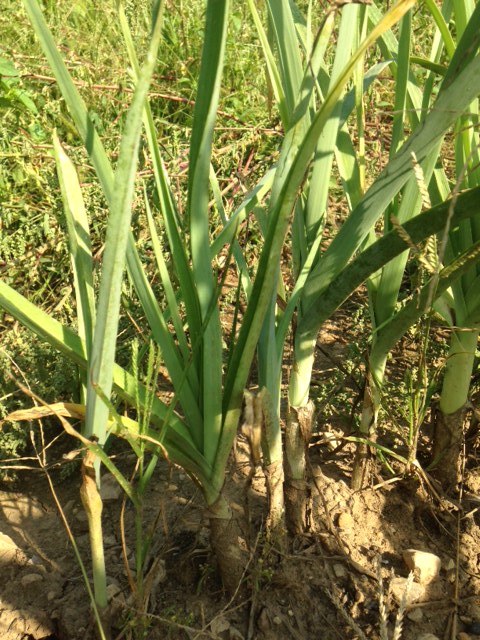
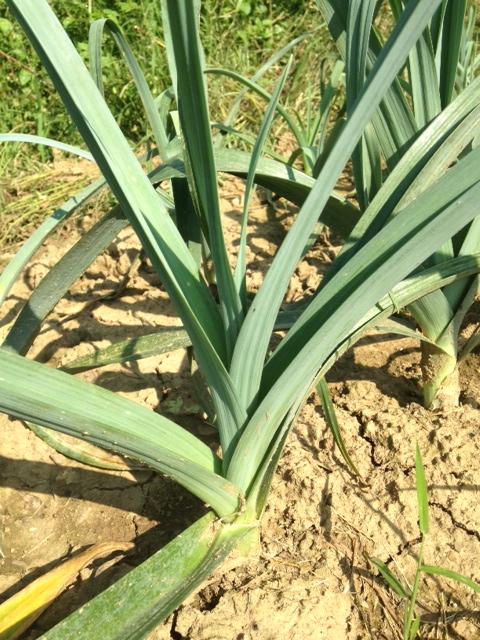
My storage onion bed contains five varieties of onions, all of which store well, according to my seed catalogs. Storage onions tend to be more pungent and less sugary, they make lots of layers of papery wrappers, and they can be cured then stored for months. Some storage onions can even make it through the entire winter if stored properly. The telltale sign that the onions are ready to harvest is when their green tops begin to brown and flop over. The onion is effectively curing itself by sealing off the watery sugars and starches in the bulb by creating a little pinched off crook in its neck where the tops fall over. This way, the green tops won’t transpire water out from the onion bulb.

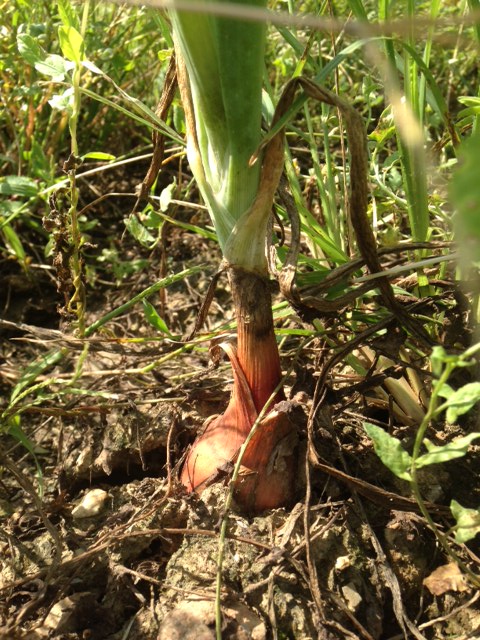
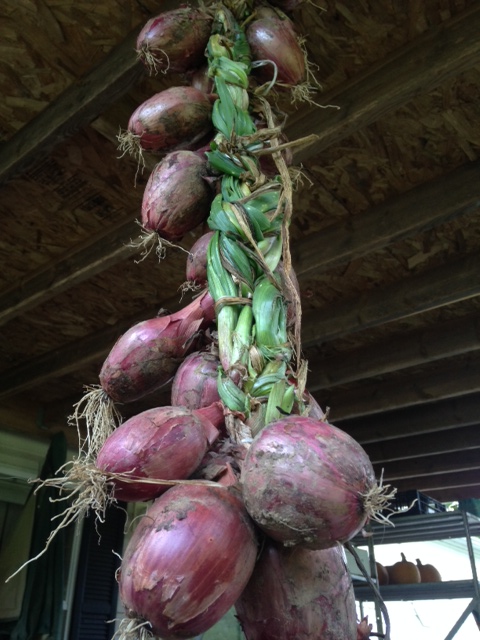
Most of my storage onions had their tops flop over a couple weeks ago, but a few stalwart onions continued to have perky leaves. I picked all of the onions that had flopped and shriveled tops and laid them out in my greenhouse to continue drying for the next week or so. In the greenhouse, they will be protected from rain and receive plenty of heat to ensure their papery wrappers are good and dry for storage. The onions that continued to have perky green tops were all from one variety, Rossa di Milano, a beautiful Italian red onion variety. I decided that the Rossas with green tops would become subjects in my first attempt to make a braided onion rope. Braiding is another option for curing onions, especially if you don’t have a lot of horizontal space for curing. By braiding the onion tops, you effectively make that little crook-in-the-neck seal that would naturally form when the tops flop over in the field. There are lots of videos online to help you learn to braid onions, and I watched a few before diving in. Basically, you braid the onions like you would braid hair, and you include some twine in the braid to help stabilize everything and to give you a loop to hang the braid from a hook or nail. My Rossa di Milano onion braid is currently hanging from the rafters of my front porch where it will get a little breeze to help the curing process and be protected from the rain.
In seed catalogs, onions are classified as short, intermediate, or long day length onions. You must choose the right type for your spot on the earth. Farms in northerly latitudes in the Northern Hemisphere have long summer days so they should grow long day onions. Farms in southerly latitudes have shorter summer days, so short day onions are most appropriate there. Here in Northern Kentucky, I am almost at 39 degrees latitude, which is the southern edge of the long day onion zone. Most long day onions switch from growing green tops to making big bulbs once there is at least 14 hours of day length, and at my latitude that occurs after May 6 and lasts until August 5. That isn’t as large of a window for bulb formation as Maine or Washington, but it’s still three months, and my onions seem to be small to medium in size, accordingly. The problem with growing short day onions here is that they may bolt (i.e., go to seed) before forming a bulb. Overall, I am happy with the varieties I grew this year, and I will continue to try different long day onion varieties. I wish I had started my onions earlier, tended to them better when they were little baby onions in the greenhouse, and got them transplanted in the field earlier, but even so, I have a lot of onions to show for my efforts this year.